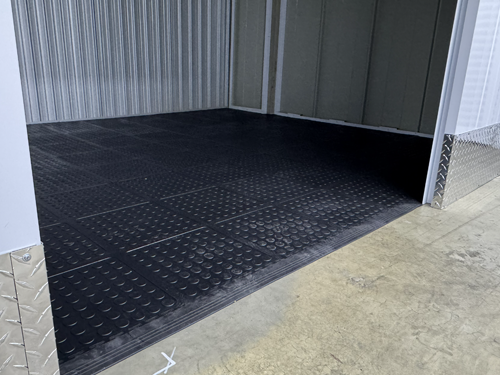
INSTALLATION GUIDE
PVC INTERLOCKING TILES
Interlocking PVC floor tiles feature durable interlocking edges that can be tapped into place with a ball-peen hammer for secure connection. The tiles can be installed without adhesive or combined with adhesive for high traffic areas if needed.

When installing fitted tiles e.g. wall-to-wall, you’ll rarely end up with perfect full tiles across the entire floor. When calculating how many tiles are required, you need to allow for cut-off waste. Typically add 3% extra material to avoid running out.
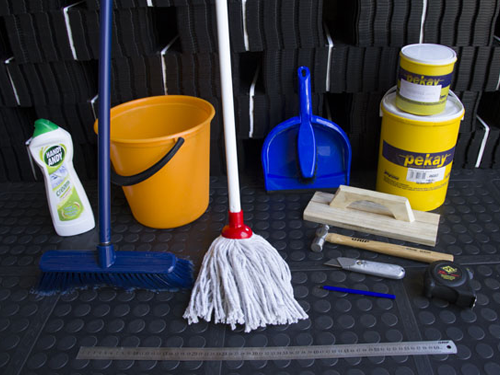
BASIC TOOLS NEEDED
- Broom and Pan
- Ball-Peen Hammer
- Wooden Float
- Stanley Knife
- Straight Edge
- Measuring tape and pen
- Mop & Bucket
- General-purpose cleaner e.g. Clean Green or Handy Andy
INSTRUCTION SHEET
BEFORE YOU BEGIN
First, determine which product you are installing and whether adhesive is required.
Dura Tile is designed to be loose-laid for most installations. Adhesive may be recommended for high-traffic and heavy-duty environments where the flooring will be subjected to significant movement or loads from heavy vehicles.
For Dura Tile installations where adhesive is required, we recommend Pekay A663 two-component, polyurethane-based adhesive. Pekay A663 is suitable for bonding PVC to masonry, concrete and brick in flooring applications.
Dura Drain does not require adhesive. The tiles are designed to be installed as a loose-laid interlocking system over suitable existing surfaces.
If you're unsure whether adhesive is required for your Dura Tile installation, please contact us on 082 682 5301 for advice and assistance.
STEP 1
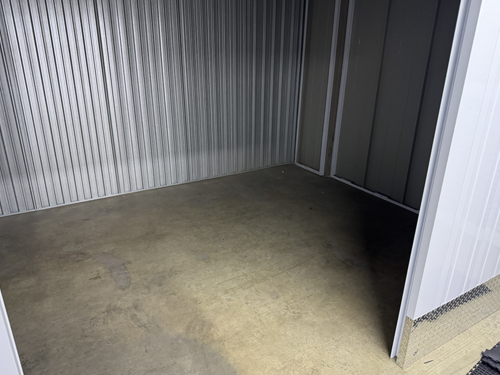
Ensure that your floor surface is level, clean, dry and free of all debris.
STEP 2
Before you begin, ensure that you have read all of these instructions and completed the necessary preparation for your installation. Have all required tools and materials, including your tiles, readily available. Make sure you understand the installation process and the sequence of steps you will follow to lay the tiles.
STEP 3
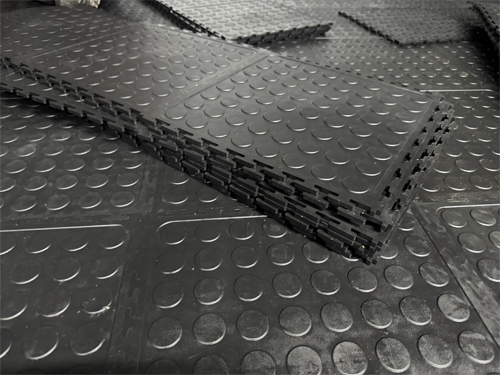
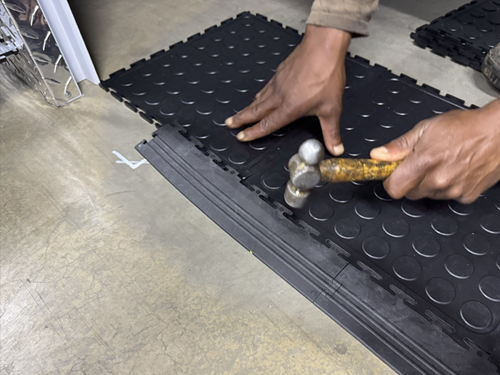
Start at the entrance or doorway of your area. Lay your edging ramp and first row of tiles, using a small ball-peen hammer to gently clip the tiles together. Continue laying the full tiles to establish your layout.
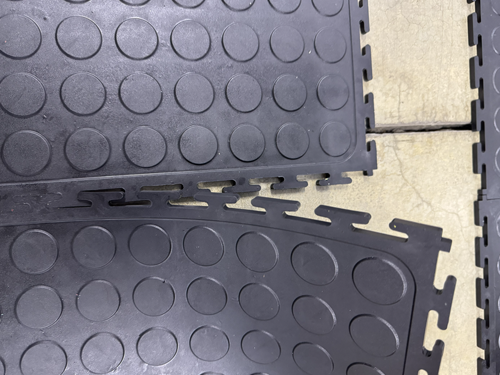
When clipping edging to the tiles, we advise installing them so that there is a 50/50 overlap from one tile to the next (see adjacent image).
If adhesive is being used, work in manageable sections. It is advisable to first lay out and check a section, then carefully lift the interlocked tiles and apply the adhesive. This allows you to work quickly before the adhesive starts setting and becomes tacky.
STEP 4
For installations requiring adhesive, mix only enough Pekay A663 for the section you are working on, following the manufacturer's mixing instructions.
Apply the adhesive evenly to the exposed floor area using a wooden float, then carefully replace the interlocked tiles onto the adhesive. Press the tiles firmly into position to ensure good contact with the floor.
Continue working in sections until all full tiles have been installed.
STEP 5
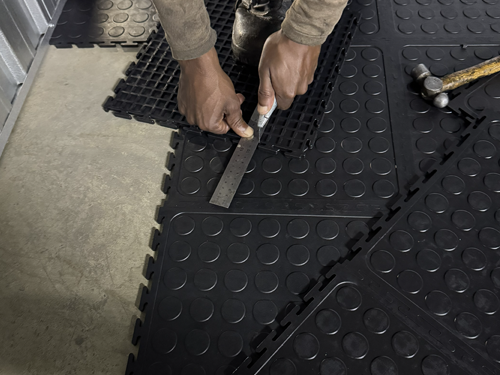
Once all of the full tiles have been laid, measure the open gaps around the perimeter of the room and cut the tiles to fit using a sharp Stanley knife and straight edge.
Where adhesive is being used, apply adhesive to each section of prepared floor before fitting the cut tiles.
STEP 6
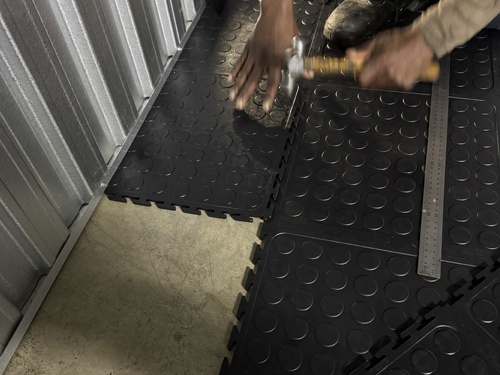
Fit the cut tiles into the remaining gaps to complete your installation. Ensure that all tiles are properly interlocked and securely positioned.
Where adhesive has been used, allow the adhesive to cure in accordance with the manufacturer's instructions before exposing the installation to heavy traffic or cleaning with water.
STEP 7
Once the installation is complete and, where applicable, the adhesive has cured, clean the tiles using a warm solution of general-purpose cleaner e.g. Clean Green or Handy Andy.
Ensure that you keep the rinse water clean to avoid residue on the tile surface once it has dried.